I’ve been involved with PyCon India since the first edition of the conference in 2009. This year, I was invited to give the keynote at the 2017 edition of the event in Delhi. This post is about some personal experiences preparing the speech and making the slides.
I think it’s worth writing about because it was very different from what I usually do and also because, I think, it was a genuine improvement to my process of doing this. Some of the changes which I made are, in my opinion, generally beneficial. A few people like Anand mentioned that the preparation was visible in the talk so this is not just my own opinion.
The content
I decided to speak on Mentoring. It was something that I’d been doing for a while after I started The Lycaeum. I mentioned this on the mailing list and it seemed like it would click.
Ordinarily, I make slides and then use them as talking points while ad-libbing the talk on stage. This time, I decided to do it differently. I’ve been talking at Toastmasters gatherings in Kozhikode and recently went through Mortimer Adlers excellent book on speaking. It has a very old school approach to speaking where you write out summaries and things like that before you give the talk. I highly recommend it.
Getting the content
The first task was to figure out what exactly to talk about.
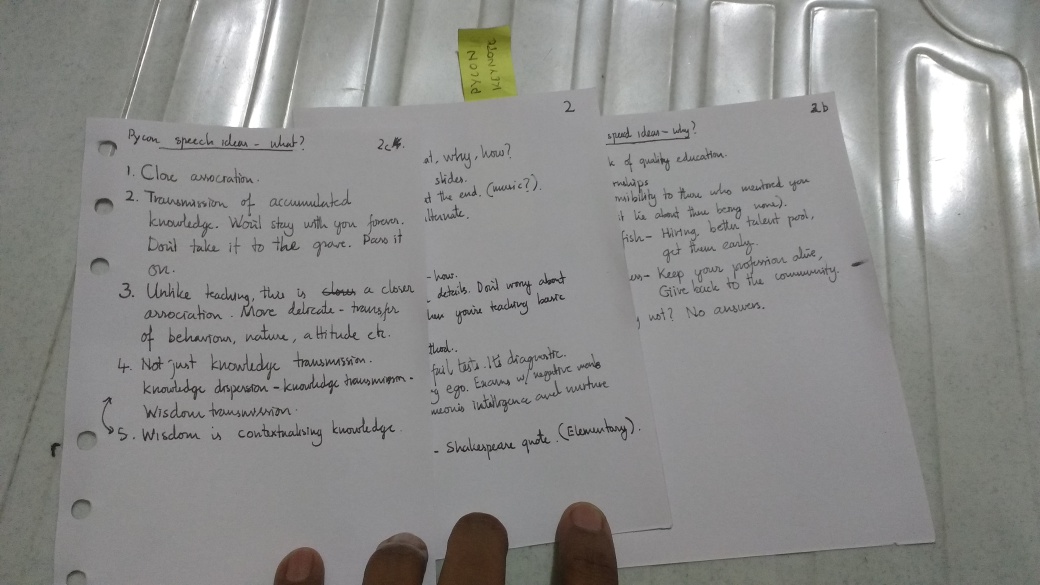
I spent a week or so brainstorming the talk itself on small pieces of paper. I’ve been making a habit of keeping a binder of loose sheets which are numbered using a system similar to the zettelkasten system. I’ve found this better than a computer screen because I can scribble, draw arrows and do things that are hard to do on a screen and I’ve found it better than a notebook because you can write on multiple sheets at the same time as well as rearrange them as per need and logic. Bound paper sheets might not be sufficient for a topic and might be wasteful for some.
These are not filtered at all. I just jot down everything that occurs to me on the topic (at any time of the day). There were repeated points, quotes, ideas for certain slides, turns of phrase that I thought were cool, jokes, examples, techniques which I could use for effect etc. A smorgasbord of raw material if you will. It felt like squeezing all the stuff I had relevant to the topic out of me. A worthwhile technique. I didn’t have to focus on organisation, presentation or anything else. Just make sure that everything was out on paper. This general thing about having a brain storming stage for any project is a good take away from this exercise.
Organisation of the content
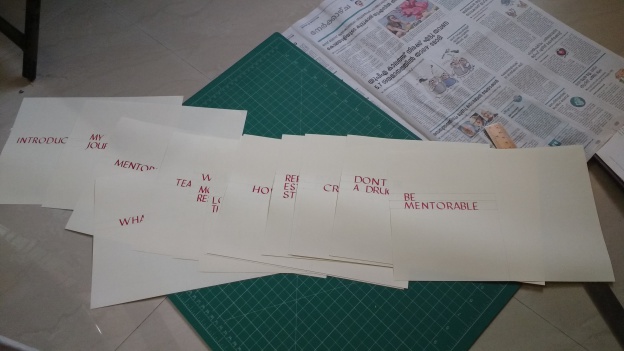
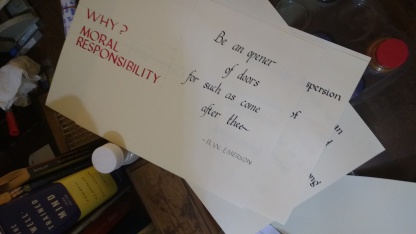
The talk was split into 4 parts - Intro, What, Why and How. This split was one of the ideas that occurred to be during brainstorming. I got a ton of points from the above process. Here are two examples - Wisdom is contextualising knowledge, “Those who can do, those who can’t teach”. The next step was to structure them. I filtered out things that were very similar and then grouped the rest under the four main headings. Here’s a picture of what that looked like.
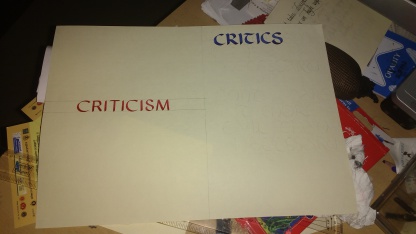
Now I more or less had what I was going to say and when. I needed to beat this into form. I clustered these into cogent subgroups. For example, “difference between teaching and mentoring”, “criticism” etc. and these became individual slides. I had roughly 20 or so such slides. The themes they fell under became slide titles. I had a vauge idea by now that I’d make each slide a heading plus a relevant quote. I started searching for quotes to fit each sub topic and time boxed this exercise for 2 days. Once I got sufficient quotes and refined them, I made a beamer deck which I used to refine my own ideas and make sure things were in proper form.
At this point, I had what I wanted to speak about roughly in shape. The specifics of the speech were not concrete yet. That would be the last stage. The next step was to make the actual slides used for the presentation which was a much bigger affair.
The slides
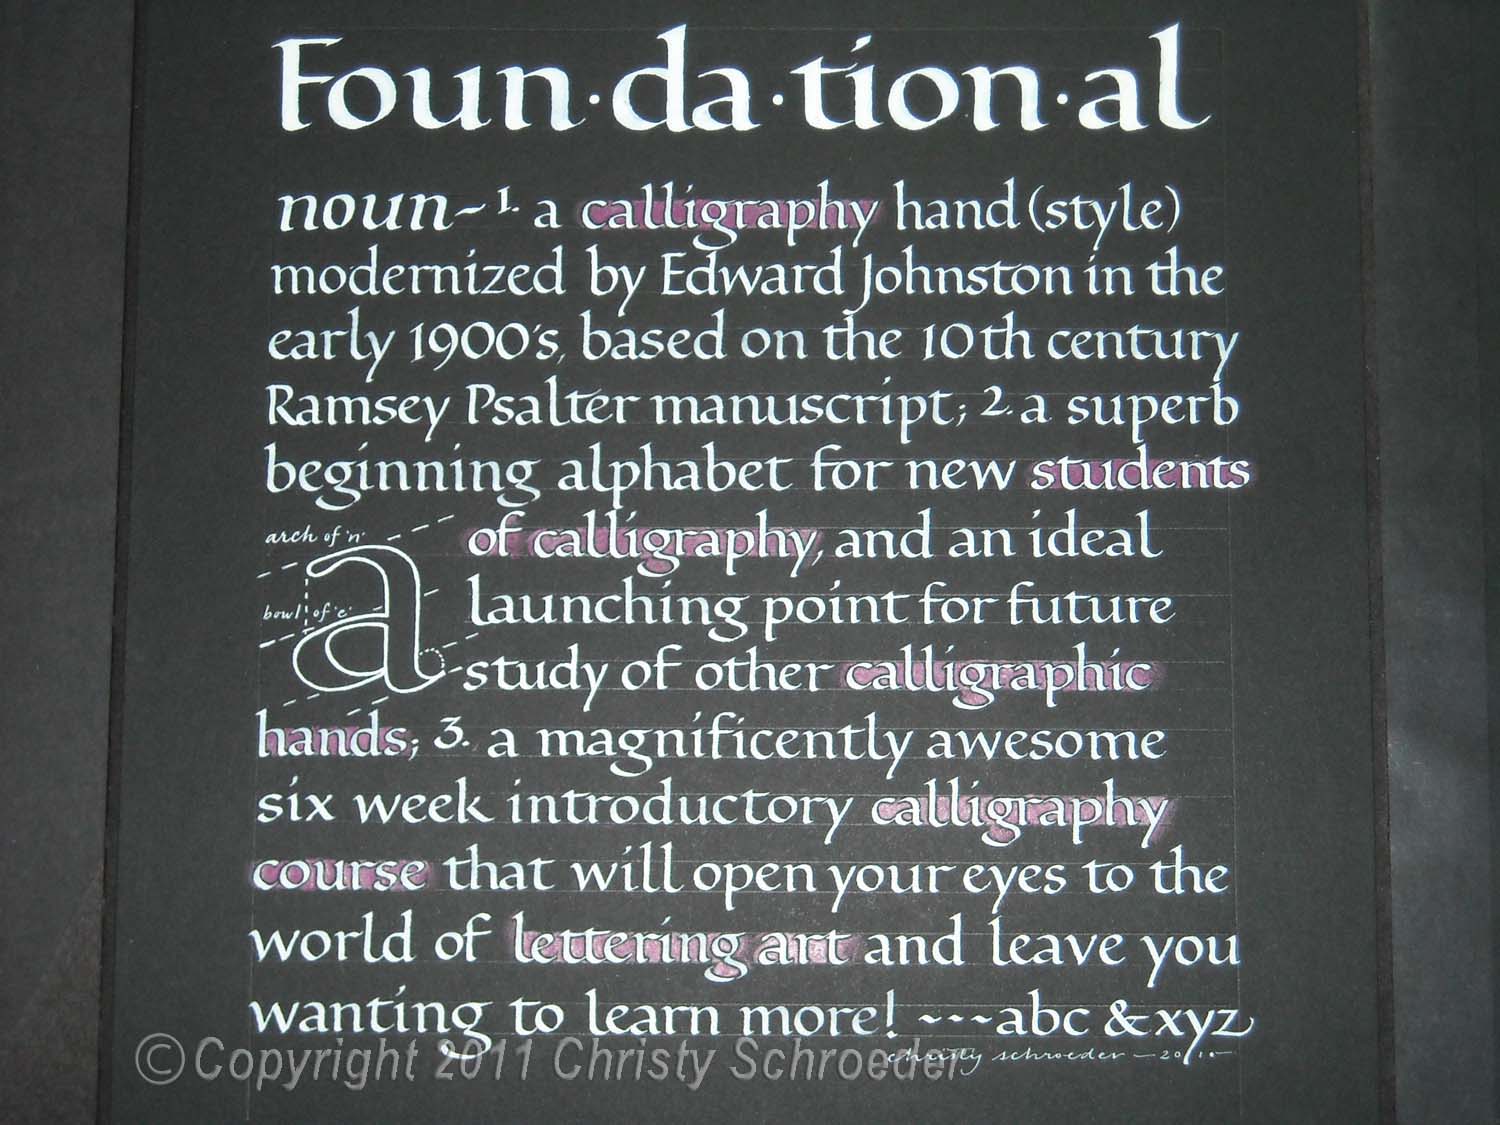
I had a plan to do the slides by hand. I’ve been practising calligraphy for a long time now and this seemed like a good “serious” project to actually try. My first thought was to make each slide a custom poster similar to this but I soon decided that that would take a huge amount of time. Unlike my regular practice sheets, this has a time limit and a clear deliverable.
A small digression. I’ve enjoyed watching the BBC series Mastercrafts. In it, traditional craftsmen take aspiring artisans under their wing and coach them through a six week apprenticeship. The masters often find the newcomers lacking in discipline and one comment I remember is when one tells an aspirant who was too lost in expressing herself that she should be “more of a craftsman and less of an artist”. The former was one who respected deadlines, client requirements and things like that. The latter was just someone pursuing their own creative interests. I wanted to be a craftsman here.
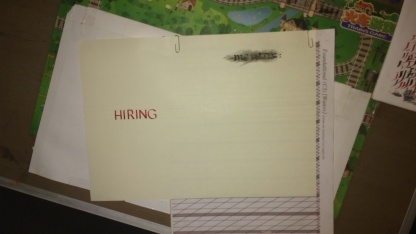
I scrapped the idea of doing individual posters for each slide and after searching a few of my books on the calligraphy for some inspiration, decided on a simple layout of title on the left and text on the right. I had met a friend of mine over coffee a few weeks before this whole exercise and wrote something for her on a sheet paper which was then ruined by a wet glass on top of it. However, this produced a certain grungy effect and I tried to replicate that a few times to see if I could make a “theme” for the slides. Here are some attempts

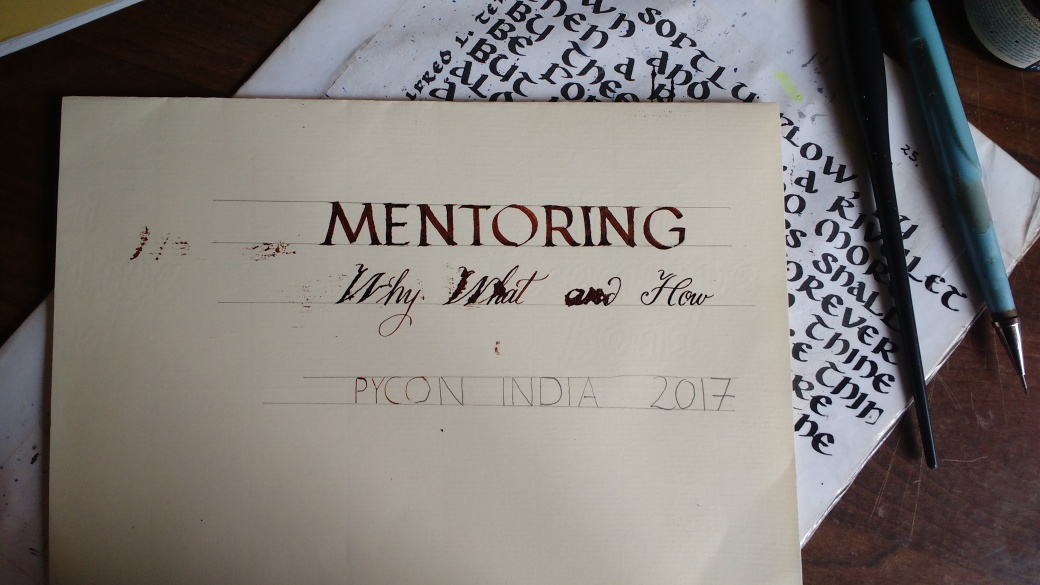
This kind of thing where I don’t have rules to follow or targets to meet is very relaxing and gets the creative juices flowing and that’s exactly what I did.
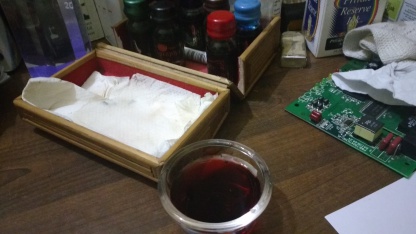
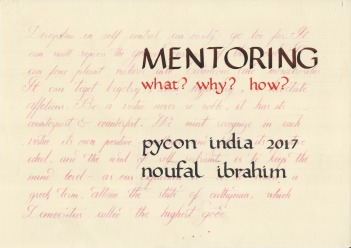
I then set about making the first and last slides. I thought it would be nice to give it a background and thought it would be nice to give it a palimpsest feel. With this in mind, I diluted some of the red ink I had and used a flexible speedball nib to write out a paragraph from a book onto a sheet of white paper using copperplate script like so
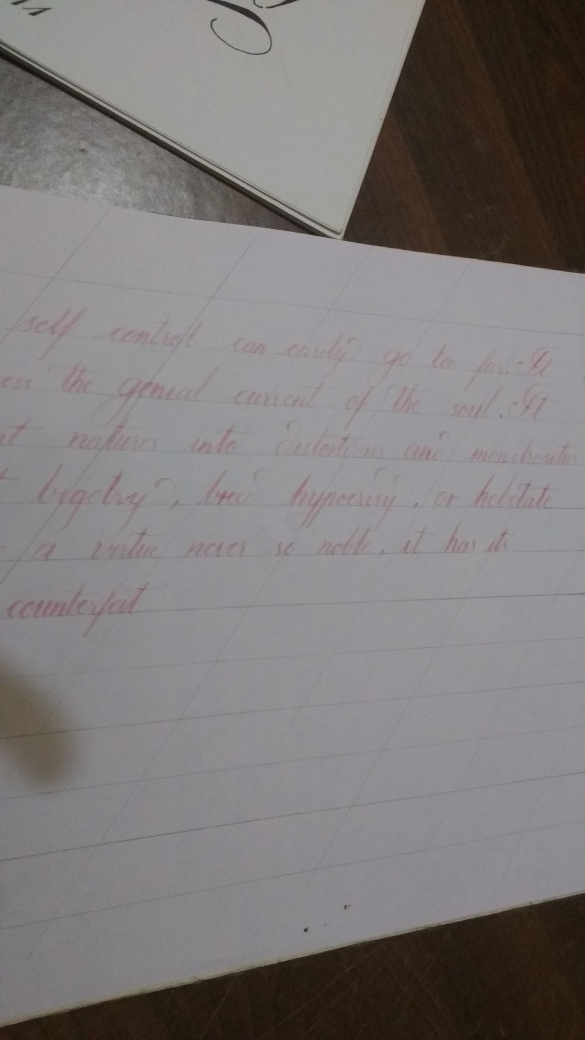
I had to make repeated samples of this to make the opacity of the ink just right. To measure the amount of extra water added, I was using a syringe. With that done, I took a few colour photocopies of the sheet so that I could experiment without fear. Didn’t want to destroy the original.
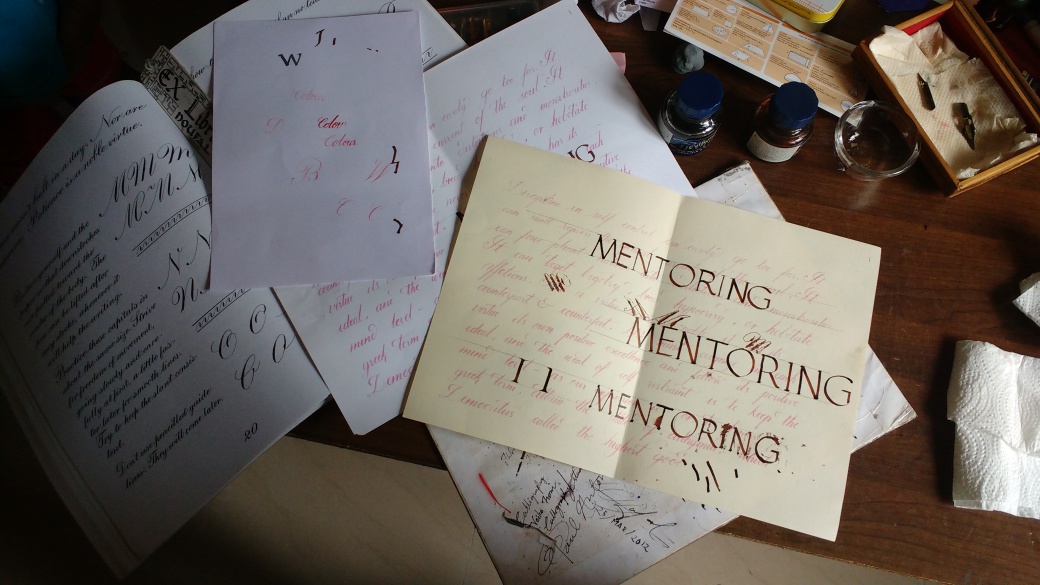
You can see how I wrote “colour” a few times on a separate sheet of paper to get the red light enough. I liked the cream coloured paper rather than white so I decided to use that for the deck. After a few attempts, I decided to do it like this
Similarly, the final page. This specific one had some problems so I decided to discard it and redo it but the layout was confirmed.
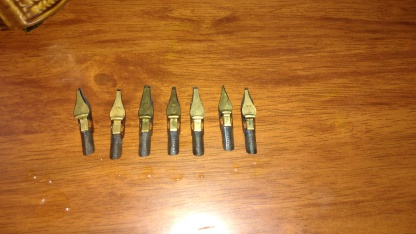
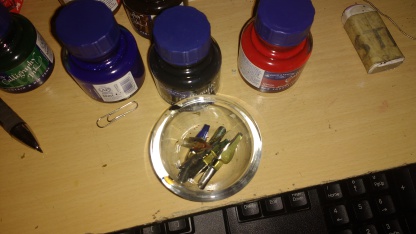
The background was done with a cheap ink but the actual text was done with Winsor and Newton calligraphic inks which is a much better type of ink. I used speedball C-series nibs of varying sizes to do the actual text. Here is a picture of some of them after cleaning.
The next step was to make “thumbnails”. I got a 4”x3” notepad and made rough “slides” with them to decide on the general layout, order as well as content. This was the deck.
This was quite useful. I was able to make quick and dirty outlines, reorder slides and do other things like that very easily.
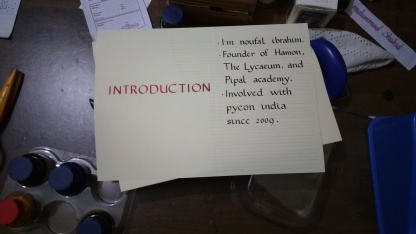
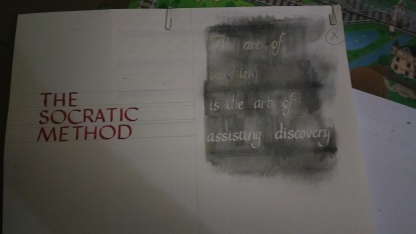
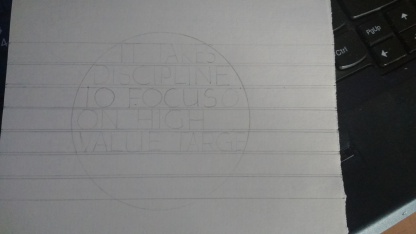
Once I had the title slide and the list of slides to make ready, I went straight ahead to making the same layout for all the slides. The title would be on the left half of the sheet somewhat centered. The hand would be Trajan Majuscules with a scarlet colour. The text, well, that had to be decided. Here are the finished slides without any of the text. This took me about 6 hours to do. I attempted to do proper brush capital serifs but apparently, that’s something even master calligraphers have trouble. I couldn’t manage to get them consistently decent so I ditched the idea and went with slightly less formal, less elegant and easier letter forms.
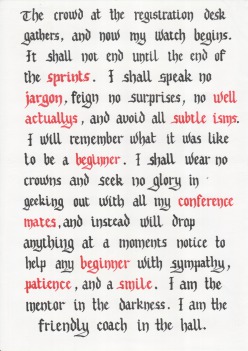
There were some slides that required some artwork (e.g. a timeline for “my journey”). I kept this for later. I also had some plans to make a poster for the oath of the mentor by Harry Percival. I wanted to read this out sentence by sentence so that the audience could repeat after me. This was a nascent plan but if I decided to go ahead with it, I’d need a different layout for this so I kept that aside as well.
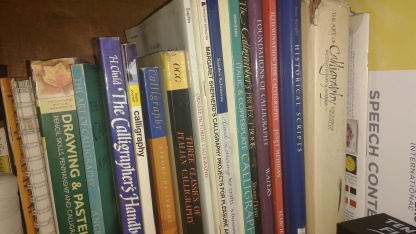
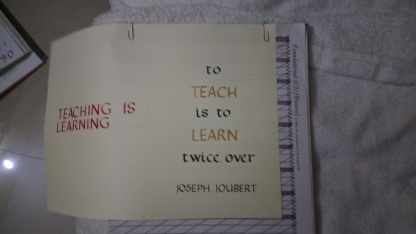
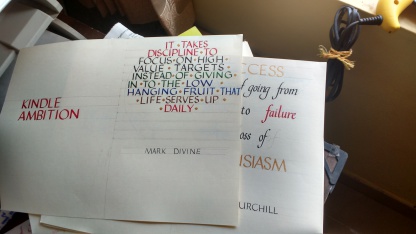
Once that was done, I decided to start the actual work on the slides. Each one was different. I eschewed some of the techniques I like (e.g. mixing colours inside the nib) in the interest of time. I didn’t want everything to look the same though. I decided to mix hands, colours, and sizes for some variety and to play a little with the layout. I have a small library of books on the topic and looked through the galleries in each one for ideas.
As for special effects, I decided to use resist for some of the slides and a little spray painting with a toothbrush for some of the others. Each slide took about 40 minutes and within a few weeks, I was done. There were several errors in the slides which meant that many had to be discarded.
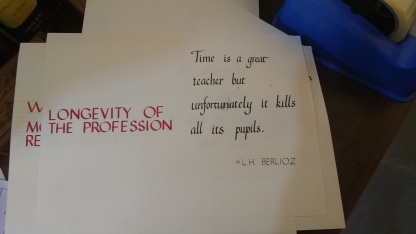
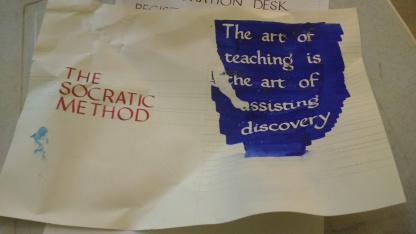
Here are some of the good slides that came out
Some of the slides had errors which I decided were too tiny to be worth redoing. I touched up the mistakes using a sharp blade on the actual sheets and using the GIMP after scanning. Here’s one
Some mistakes though were catastrophic and couldn’t be salvaged. They had to be thrown away. Here are two examples of that
Some were easy to do since the layout wasn’t very complicated. Others needed some work and those took longer e.g.
Not as good as I hoped it would be but time was a factor. It was about this time that I tweeted this out.
All the slides had quotes. One was my own and I decided to do it in an uncial hand with huge letters. I made a mistake with the spelling on the first attempt
When this happens, you have to throw away the whole sheet including the heading. So that’s about an hour of work wasted. I started to really appreciate the little things like C-z and Backspace which are there to help you when you do digital slides.
This went on day after day and finally. My nibs really stepped up and delivered
Some slides were particularly stubborn and I had to redo them multiple times. Here was one particularly tough one.
Finally, I was done with all the slides except for the “My journey” one and the “oath of the mentor”. I decided to drop the first in the interest of time and put aside the other after for a week.
I had a small business trip about 10 days before the conference and I took the slides with me there to remove the pencil marks and rulings. I did that at the hotel and then, decided to work on the actual speech contents.
The speech
Mortimer Adler suggests making a detailed outline of the speech and then using those as notes. I wasn’t familiar with how to do this so I gave the speech like I would usually do and recorded it on my phone. It was excruciating to listen to myself but I did it. Took around 45 minutes. I transcribed everything I said onto paper and that gave me my first draft.
Once this was done, I cut out several gaudy points, refined my language a little, put in better analogies and examples. I also used the notes I had initially created for the slide brainstorming to supplement slides that needed more content. I marked some of the points as “optional” which meant that I could kick them out if I wanted to speed things up. I also put some as good lead ins. There were also small points between sections which allowed me to glue individual slides into a continuous whole. I could say half a sentence as a lead-in, then change the slide and continue. It was a wonderful feeling rather than first switching slides and then trying to remember what I planned to say.
This up front preparation worked much better than ad-libbing the speech on stage. You get to correct all the details you don’t like. The only thing you need to master is the ability to deliver the speech with freshness and finesse so that it appears to be done on the fly. I highly recommend it. It was without doubt, my most valuable take away from this exercise.
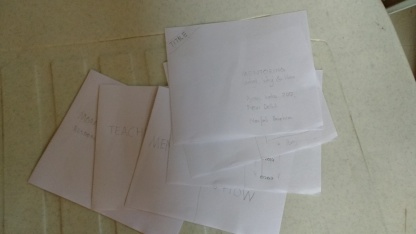
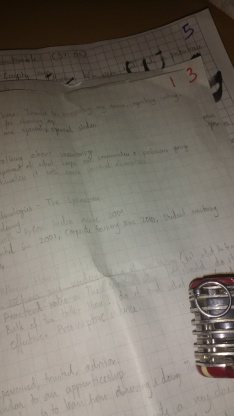
Once I had that, I gave the speech in front of a mirror using the notes as an aid. This was a really nice experience since I knew in advance before each slide came onto the screen and I could give the whole talk in one smooth stream rather than a series of broken pieces. I also timed myself when I gave the speech and wrote down at what times I should reach certain slides. This allowed me to course correct if I ran ahead and to insert some ad-hoc bits if I was going too slow. When I actually talked, I didn’t have to do this and it ran on time but nevertheless, it seemed useful. Here’s what my notes looked like.
I kept some time aside for the oath at the end and clocked myself at around 40 minutes. 15 minutes for questions and then 5 minutes for the oath. Seemed right.
The oath
The oath was a bit risky. I imagined that it would be well received and that it would start the conference on a high note. On the other hand, if it bombed, all my carefully prepared notes and slides would be ruined. I was in a bit of a fix. Then I decided to make slides for the oath but leave the decision whether to present it or not for later.
I couldn’t do the oath in the same way as I did the rest of the slides so I decided to do a more conventional “poster”. I had almost not experience with a blackletter hand but decided to do it anyway. It was, without doubt, the worst slide from a technical standpoint but by this time, I just wanted to be done with.
Scanning and touch ups
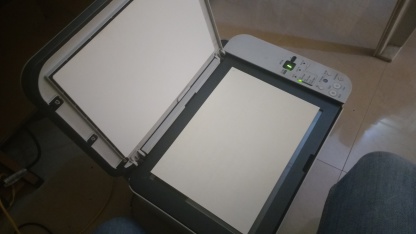
After this, I had a day left before my plane ticket. I spent that day scanning in all the slides.
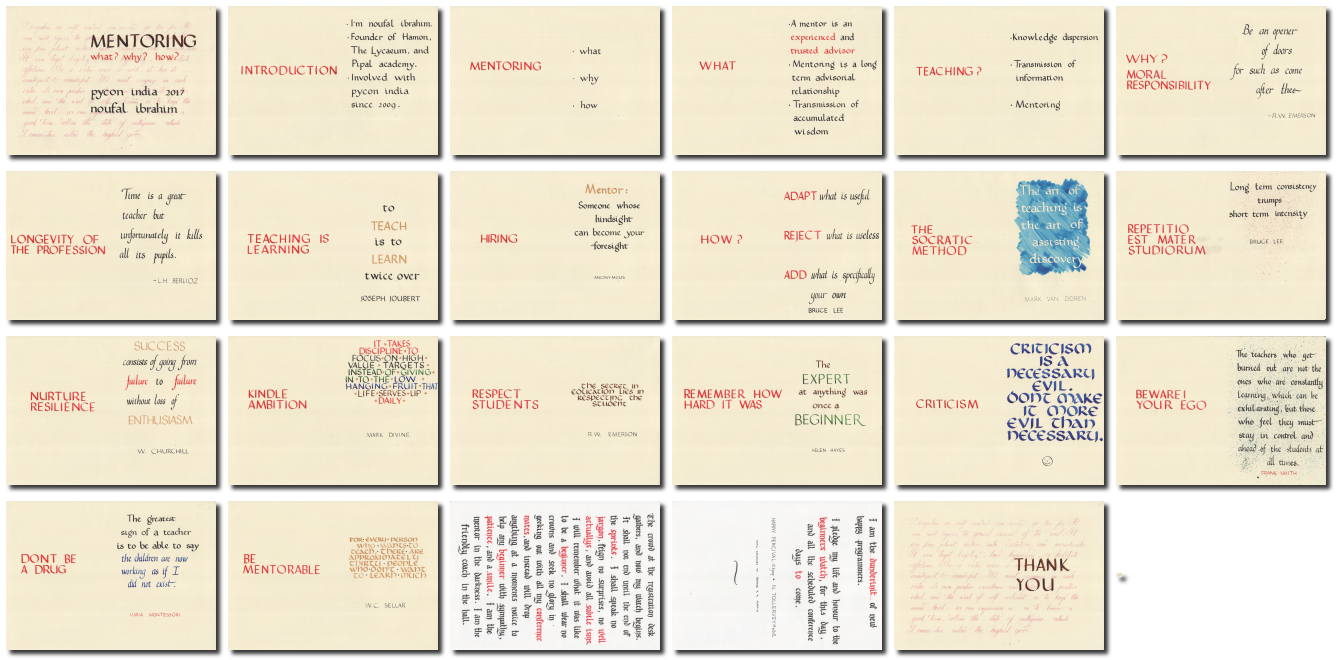
Once that was done, I scaled, rotated and cleaned them up a little using GIMP and imagemagick. The final result was a single PDF with the slides. Here’s a montage of all the slides
The oath slide, I cut up into individual sentences and then put them all together as a separate PDF so that I could have everyone read off the screen.
Giving the talk
I was a little worried about whether the slides would be visible and the resolutions which would be appropriate. I went to the venue the night before my talk and checked it out on the projector. It looked okay. They of course, changed the resolution the next day so my preparations didn’t really help. I ended up giving the talk with a blank laptop screen. Didn’t bug me much since I had my notes and the timings were spot on.
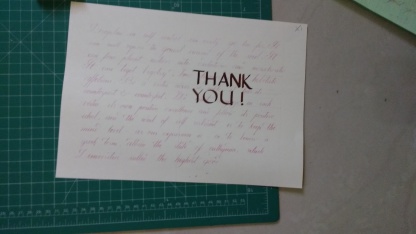
I was extremely nervous about giving the talk since I had prepared so much and wanted every detail to be right. The interesting part was that it did go quite well. All the small details were noticed and appreciated by many people, the hand made slides were well received, the message resonated with many of the people in the audience and the oath really had the effect that I hoped it would. People took the whole thing quite enthusiastically and my final “thank you” was drowned in applause.
I decided to donate the slides for the pyladies auction at the next PyCon in the States. Most of them are just headings and a quote so the good ones might be serviceable as posters.
Conclusions
Some of the things I learned from this whole affair
-
Detailed planning and work pays really good dividends. Our brash overconfidence in our abilities might be justified but even then, detailed work and preparation can really help fix problems that even you’re not aware of. This is, by far, my biggest take away. I’m going to give up “winging it” completely if I can and outright refuse to do stuff if I don’t have enough time to prepare.
-
Deadlines make things serious. The slides would have been hobbies lost in a fog of perfectionism if not for the deadline. I had to cut corners, make compromises, live with mistakes and do anything necessary to get the whole thing done by the trip. Exposed me to how terrible my calligraphy really is.
-
My time with the Toastmasters club in Kozhikode taught me subtle skills that I wasn’t aware I learned. Giving speeches is serious business and I have a lot to learn in that department.
If you want to follow my practise with calligraphy, I put up my stuff on http://calligraffiti.in/ and tweet about it at @incalligraffiti.
blog comments powered by Disqus